7 Tips for Choosing Thermal Break Aluminum System Windows

Choosing Thermal Break Aluminum System Windows is not simply a matter of selecting a frame color or showroom finish. It is a building-performance decision involving heat flow, condensation, glass specification, installation quality, and long-term maintenance. The U.S. Department of Energy reports that windows can account for approximately 25%–30% of residential heating and cooling energy use. That figure explains why a narrow aluminum frame can influence both indoor comfort and operating costs. However, the frame alone does not guarantee efficiency. Climate, glazing, orientation, air sealing, and workmanship still matter.

Building scientist Joseph Lstiburek offers a useful warning: “Windows are not walls.” His point remains practical. Even advanced Thermal Break Aluminum System Windows contain interfaces where heat, air, and moisture can move. NFRC performance labels help compare U-factor, solar heat gain coefficient, visible transmittance, and air leakage. The International Energy Agency also emphasizes that better building envelopes support lower energy demand and improved comfort. These sources provide direction, not a substitute for project-specific evaluation.

A polished product brochure can hide weak installation details. That is worth questioning. A thermally improved frame may perform poorly beside an uninsulated sill or a badly sealed joint. This guide presents seven practical tips for choosing Thermal Break Aluminum System Windows, from thermal ratings and glass combinations to drainage design, certifications, supplier experience, and after-sales support. The goal is not to promise a perfect window. No window is perfect. The goal is to make a defensible choice, supported by measurable data and realistic site conditions.
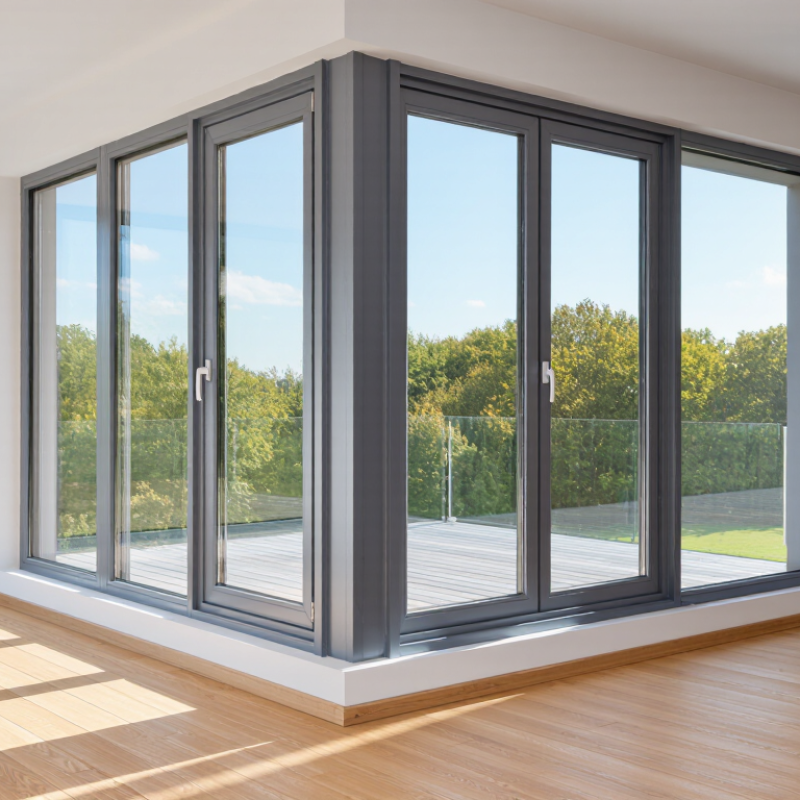
7 Tips for Choosing Thermal Break Aluminum System Windows

Define Thermal Breaks: Aluminum at 205 W/m·K Versus Polyamide at 0.25 W/m·K

7 Tips for Choosing Thermal Break Aluminum System Windows

Define Thermal Breaks: Aluminum at 205 W/m·K Versus Polyamide at 0.25 W/m·K

Aluminum conducts heat quickly, at about 205 W/m·K. Polyamide conducts far less, near 0.25 W/m·K. A thermal break uses polyamide strips between interior and exterior aluminum sections. This interrupts the direct heat path through the frame.

In practical inspections, the difference becomes visible near the frame edges. Without a proper break, warm indoor air can meet a cold aluminum surface. Condensation may appear around corners or drainage areas. A reliable system should show tested thermal performance, not only impressive material numbers. Ask for laboratory reports, frame U-values, and test conditions.

Strip width matters, but wider is not automatically better. The profile shape, cavity design, glazing spacer, gaskets, and installation also affect performance. Check whether the polyamide is mechanically locked and reinforced where needed. Poor corner assembly can weaken an otherwise good design.

Look closely.

For colder climates, compare condensation resistance as well as insulation values. A window with strong glass can still perform poorly if the frame joints leak air. Site experience has taught me that installation errors often explain disappointing results. I would inspect sample corners, drainage paths, and seal compression before approving a system. Thermal breaks reduce heat transfer; they do not eliminate every thermal bridge.

7 Tips for Choosing Thermal Break Aluminum System Windows — Define Thermal Breaks: Aluminum at 205 W/m·K Versus Polyamide at 0.25 W/m·K

Tip Selection Dimension Reference Data What to Check Why It Matters
1 Understand the thermal break Aluminum: approximately 205 W/m·K
Polyamide: approximately 0.25 W/m·K
Confirm that the aluminum frame is separated by a continuous, low-conductivity polyamide insulating strip. Polyamide conducts heat at roughly 1/800 of the conductivity of aluminum, substantially reducing heat flow through the frame.
2 Compare the frame U-value Frame U-value, Uf, is reported in W/m²·K. Lower values indicate better insulation. Request independently calculated or tested Uf data for the exact frame, thermal-break geometry, glazing, and hardware configuration. The thermal-break material alone does not determine performance; frame shape, cavities, reinforcement, and connections also affect heat transfer.
3 Check the thermal-break width and continuity Thermal-break widths commonly vary by system design; many systems use approximately 14–40 mm. Verify the specified width, the number of insulating strips, and whether the break remains continuous at corners, mullions, sashes, and thresholds. A wider or better-positioned thermal break can reduce conductive heat flow, but continuity is essential to avoid thermal bridges.
4 Evaluate the complete window U-value Whole-window U-value, Uw, includes the frame, glazing, spacer, and edge effects. A lower Uw means lower heat transfer. Compare Uw values for the same window size and configuration rather than comparing frame Uf values alone. Glazing often represents most of the window area, so glass selection and frame design must be assessed together.
5 Match the glazing to the frame Double glazing typically uses two panes; triple glazing uses three panes. Low-emissivity coatings and inert-gas fills can reduce heat transfer. Confirm glass thickness, cavity width, coating position, gas fill, spacer type, and maximum supported glazing thickness. An efficient frame cannot deliver its intended Uw if the selected glass, spacer, or installation detail creates a weak thermal path.
6 Review condensation resistance Interior surface temperature depends on indoor temperature, humidity, outdoor temperature, frame design, glazing, and installation. Ask for surface-temperature or condensation-resistance calculations, especially for humid rooms and cold climates. Warmer interior surfaces reduce the risk of surface condensation, mold growth, and moisture-related damage.
7 Confirm air, water, and installation performance Thermal performance is affected by seals, drainage, frame joints, perimeter interfaces, and installation tolerances. Request test or classification data for air permeability, watertightness, wind resistance, and installation details. Poor sealing or an incorrect perimeter connection can reduce real-world energy performance even when the frame has a good laboratory U-value.

Note: Conductivity values are representative reference values at approximately room temperature. Actual window performance must be verified for the complete tested or calculated system and the intended project conditions.

Compare U-Factors Below 1.40 W/m²·K for High-Efficiency Window Systems

7 Tips for Choosing Thermal Break Aluminum System Windows

Compare whole-window U-factors, not glass-only values. A thermal break separates the inner and outer aluminum sections, reducing conductive heat flow. Target a certified U-factor below 1.40 W/m²·K. Lower is better, but only when the result covers the complete window assembly.

NFRC 100 requires U-factor testing to include glazing, frame, spacers, and edge conditions. Ask for the report. Check its size, opening type, and test standard before comparing quotations.

Seven checks improve the decision: thermal-break width, glazing configuration, warm-edge spacer, air leakage, water resistance, solar heat gain coefficient, and installation detail.

Double glazing may reach 1.40, while triple glazing often performs better in cold climates. Yet frame geometry can weaken the result. Small gaps matter.

The U.S. Department of Energy estimates that windows cause 25%–30% of residential heating and cooling energy use. The IEA also reports that buildings consume about 30% of global final energy, making small envelope improvements meaningful.

For hot regions, do not chase the lowest U-factor alone; compare SHGC and visible transmittance. A highly insulated window can still increase cooling demand if solar exposure is ignored.

Installation deserves equal attention. A perfect laboratory rating can disappoint when perimeter foam, shims, or drainage paths are poorly executed. In practice, the most reliable specification combines certified testing, climate-specific values, and an installation inspection.

One detail remains easy to overlook: lower U-factor does not automatically mean better daylight or comfort.

Evaluate Air Leakage at 0.3 L/s·m² or Less Under Standard Testing

Choosing Thermal Break Aluminum System Windows: 7 Practical Tips

Air leakage deserves more attention than glossy finishes. A well-designed window should achieve 0.3 L/s·m² or less under standard testing. This figure describes leakage through the closed window assembly, not the surrounding wall. Ask for the test pressure, specimen size, test date, and complete report. Without these details, the number may sound stronger than it is. Use an independent, competent laboratory when possible. Good paperwork supports good decisions.

Check the thermal break width, frame joints, sash corners, gaskets, and locking points. These small areas often decide real performance. Look for continuous seals with clean compression and durable corners. Request samples that open and close repeatedly, not only showroom pieces. Confirm that drainage paths do not create uncontrolled gaps.

Compare the stated 0.3 result with the project’s required pressure class. A window passing one test may need further evaluation in taller buildings or exposed coastal sites. Site installation matters just as much. A perfect laboratory frame can leak around an uneven opening.

Ask installers how they will set the frame, seal the perimeter, and protect the joint during construction. Keep photographs of hidden membranes before finishes cover them. Check corners carefully. I have seen excellent profiles underperform because foam was interrupted or fasteners were overtightened. That is an easy mistake. Require inspection, adjustment, and, where practical, on-site air testing. Also review condensation control, hardware strength, and replacement access. Low leakage is valuable, but it should work with the whole envelope rather than hide weak installation details.

Match SHGC to Climate: 0.25–0.40 for Solar-Controlled Glazing

For thermal break aluminum system windows, SHGC deserves more attention than frame color or glass count. The Solar Heat Gain Coefficient measures how much solar energy enters through glazing. A value of 0.30 admits roughly 30% of incident solar heat. The U.S. Department of Energy reports that windows can account for 25–30% of residential heating and cooling energy use, so this choice affects comfort and operating costs.

The 0.25–0.40 range suits many solar-controlled designs, but climate must guide the final number. In hot, sunny regions, an SHGC near 0.25 can reduce afternoon heat through west-facing glass. In mixed climates, 0.30–0.35 often balances daylight and cooling control. Colder regions may benefit from a higher SHGC on south-facing windows, especially during winter. ASHRAE 90.1 and NFRC guidance both support evaluating orientation, shading, and whole-window performance rather than selecting glass by appearance alone.

Measure the room, not just the label. A thermally broken aluminum frame limits conductive heat transfer, but it cannot correct excessive solar exposure. I have seen a “perfect” 0.30 specification perform poorly beside an unshaded façade. That target was too neat. Interior blinds help occupants, yet exterior shading usually blocks more heat before it reaches the glass. Check the NFRC-certified whole-window values, visible transmittance, air leakage, and local design temperatures. A lower SHGC is not automatically better; darker rooms and winter heat loss can become the hidden trade-off.

Lower SHGC values reduce solar heat gain. Clear glazing typically admits more solar energy, while solar-control low-e glazing can fall within the 0.25–0.40 range recommended for many cooling-dominated or strongly sun-exposed applications. Final selection should also consider orientation, window-to-wall ratio, daylight needs, and local energy codes.

Verify NFRC Ratings, Condensation Resistance, Hardware, and Installation Standards

Choosing thermal break aluminum system windows requires more than comparing frame colors or glass thickness. Start with the NFRC label. Check the U-factor, solar heat gain coefficient, visible transmittance, air leakage, and condensation resistance. Lower U-factor usually means better insulation. A suitable SHGC depends on climate and window orientation. Do not treat one excellent number as proof of overall performance.

Condensation resistance deserves close attention. Warm indoor air can still meet cold glass edges, especially in bathrooms or poorly ventilated rooms. Look for a tested rating, then inspect the spacer, glazing edge, and thermal break design. I once focused too heavily on frame insulation and underestimated edge temperatures. That mistake showed up during a cold, humid week. Room ventilation matters too. Windows cannot correct every moisture problem.

Hardware should operate smoothly without excessive force. Check hinge strength, locking points, drainage paths, and corrosion resistance, particularly near coastal areas. Confirm that the hardware matches the sash weight and opening size. Installation standards are equally important. Request written instructions, approved fastening locations, proper shimming, sill pan protection, flashing, and compatible perimeter sealants. The installer should follow local building requirements and maintain drainage openings. A perfect laboratory rating can fail on site. I have seen frames installed too tightly, leaving no room for movement. The result looked neat, but the sash later dragged. Ask for measured openings, level checks, and photographs before interior finishes hide the work.